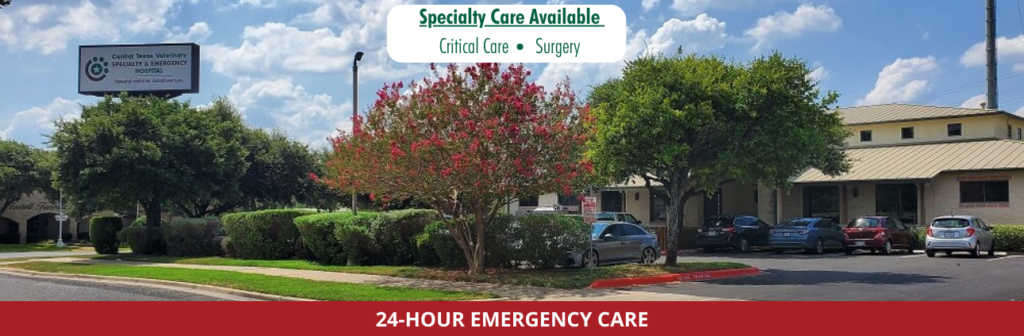
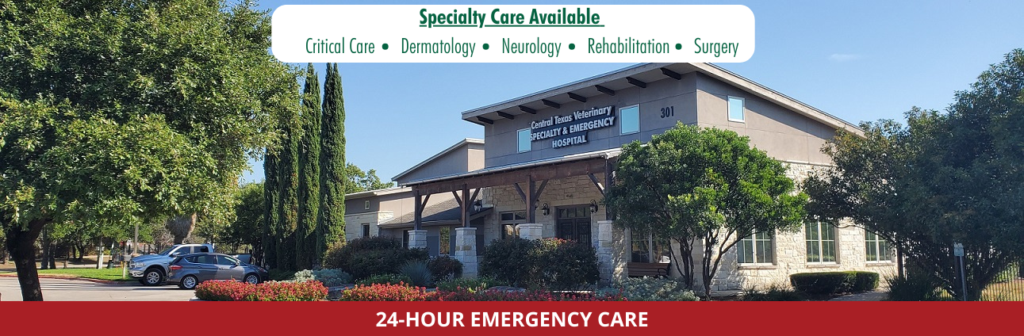
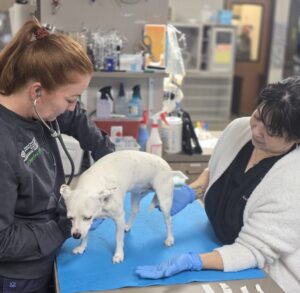
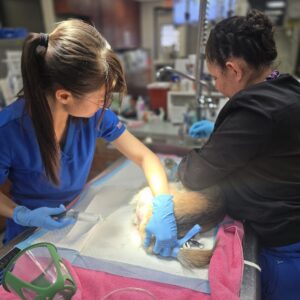
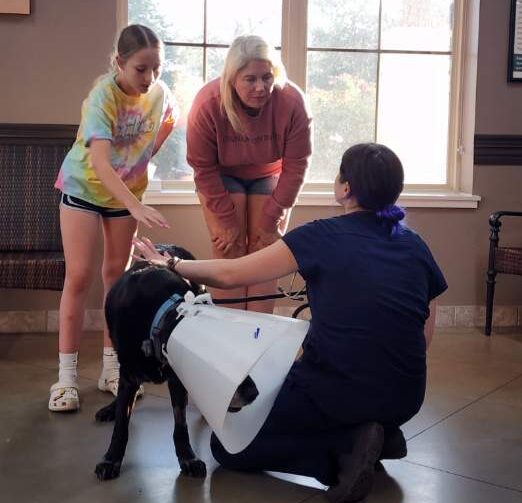
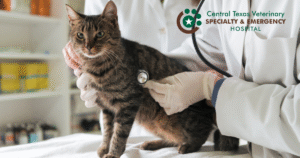
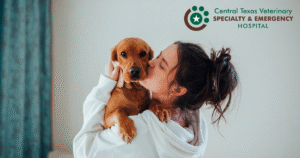
Our team of highly trained specialists at Central Texas Veterinary Specialty and Emergency Hospitals in South Austin and Round Rock stand as unwavering pillars of strength, compassion, and expertise, always present when patients and their families need them most.
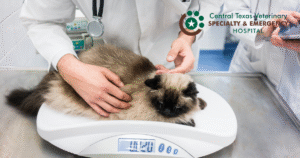
Our team of specialists offers advanced care in:
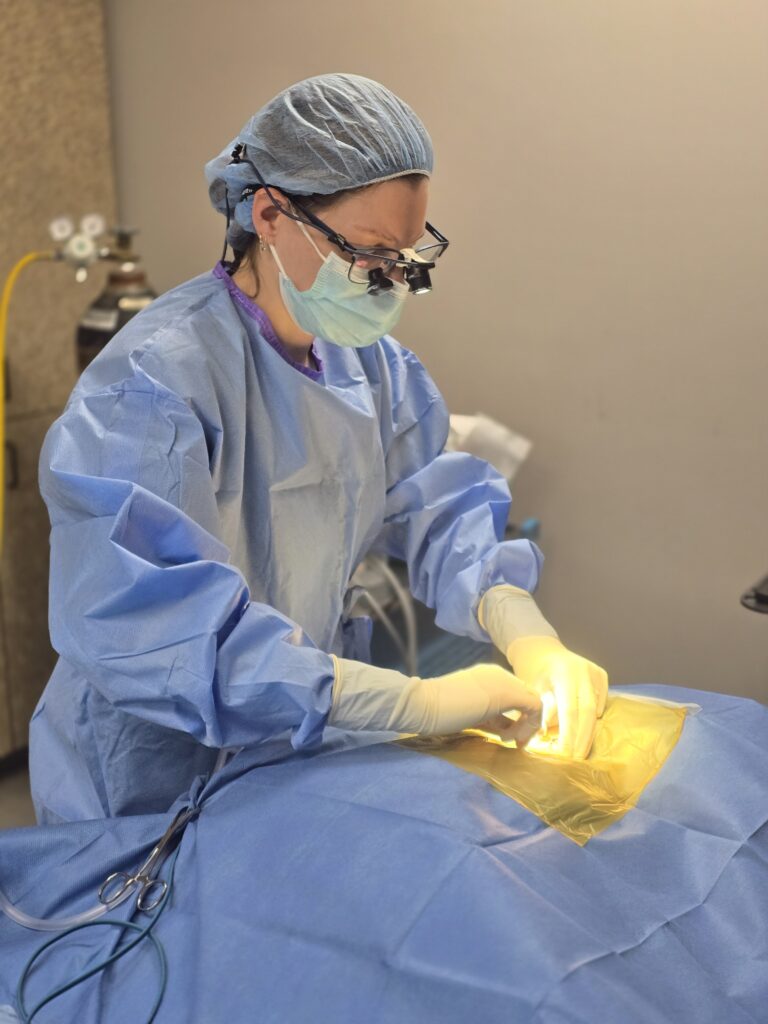
Surgery
Allergy & Dermatology
Neurology
Critical Care
Rehabilitation & Integrative Medicine
Oncology
Internal Medicine
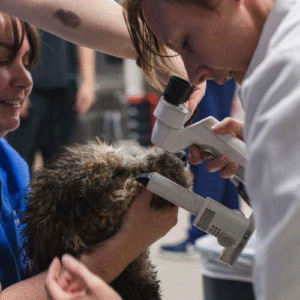
Ophthalmology
These services are available by referral. If your primary veterinarian has recommended specialized care, pleasefill out our appointment request form or call us to schedule a consultation.
At CTVSH, we partner with local veterinarians to provide comprehensive and exceptional care for your pets. Our commitment is to deliver powerful medicine with exceptional care, ensuring your beloved companions receive the best possible treatment.